
📚 Education
Apr 12, 20265 min read
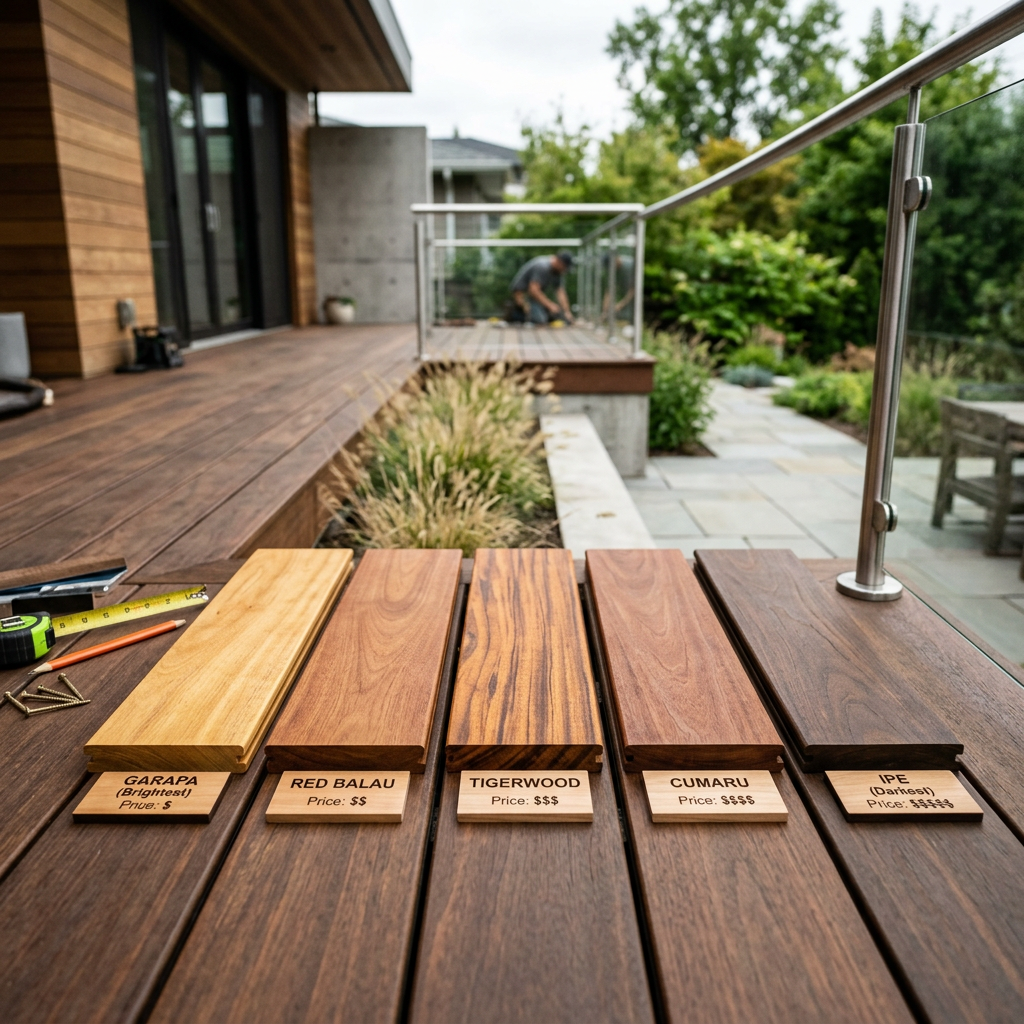
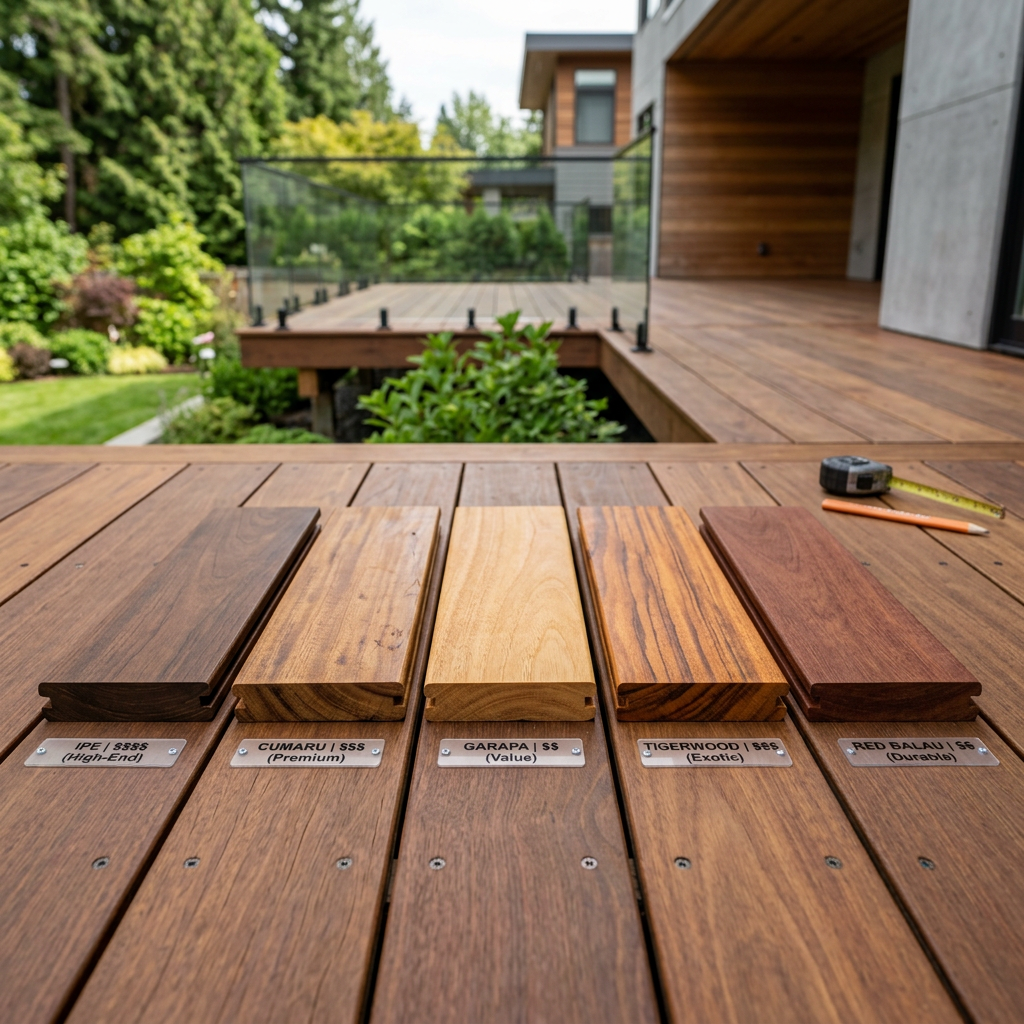
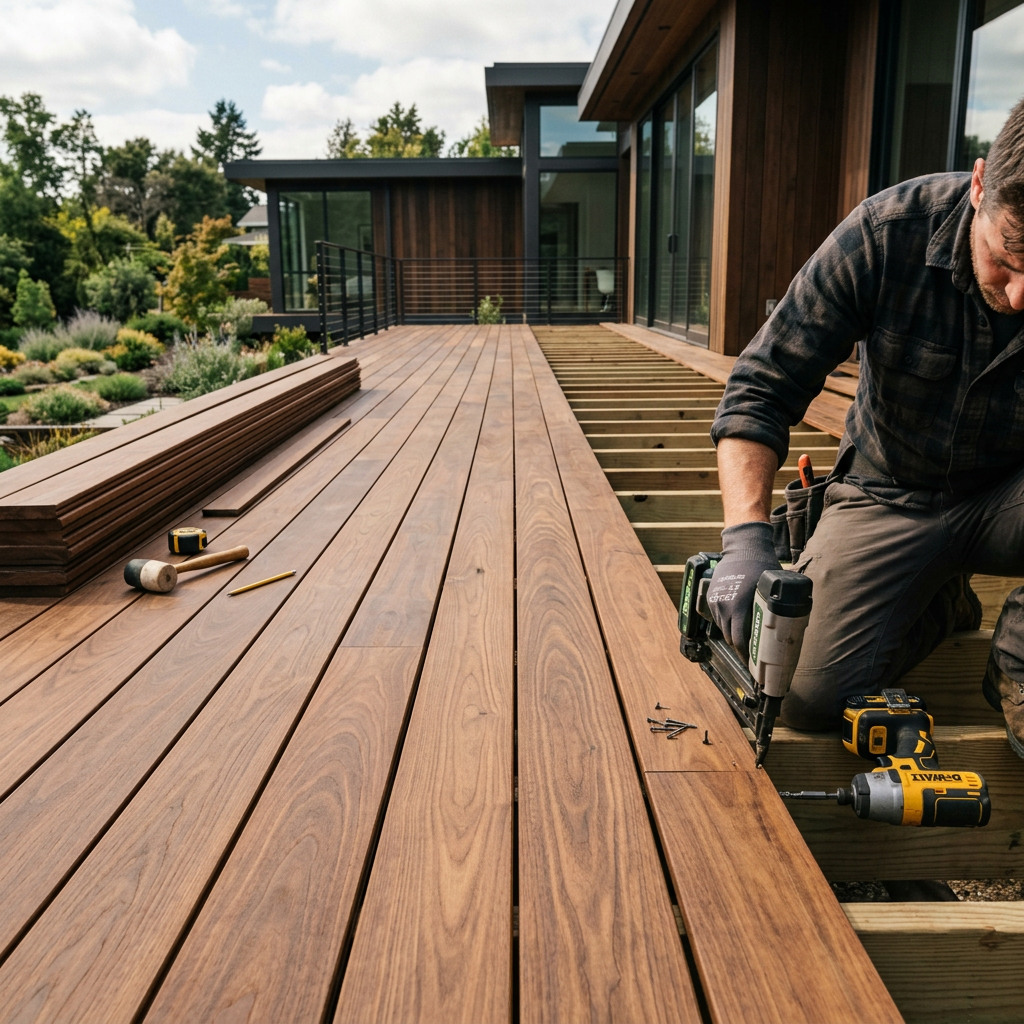
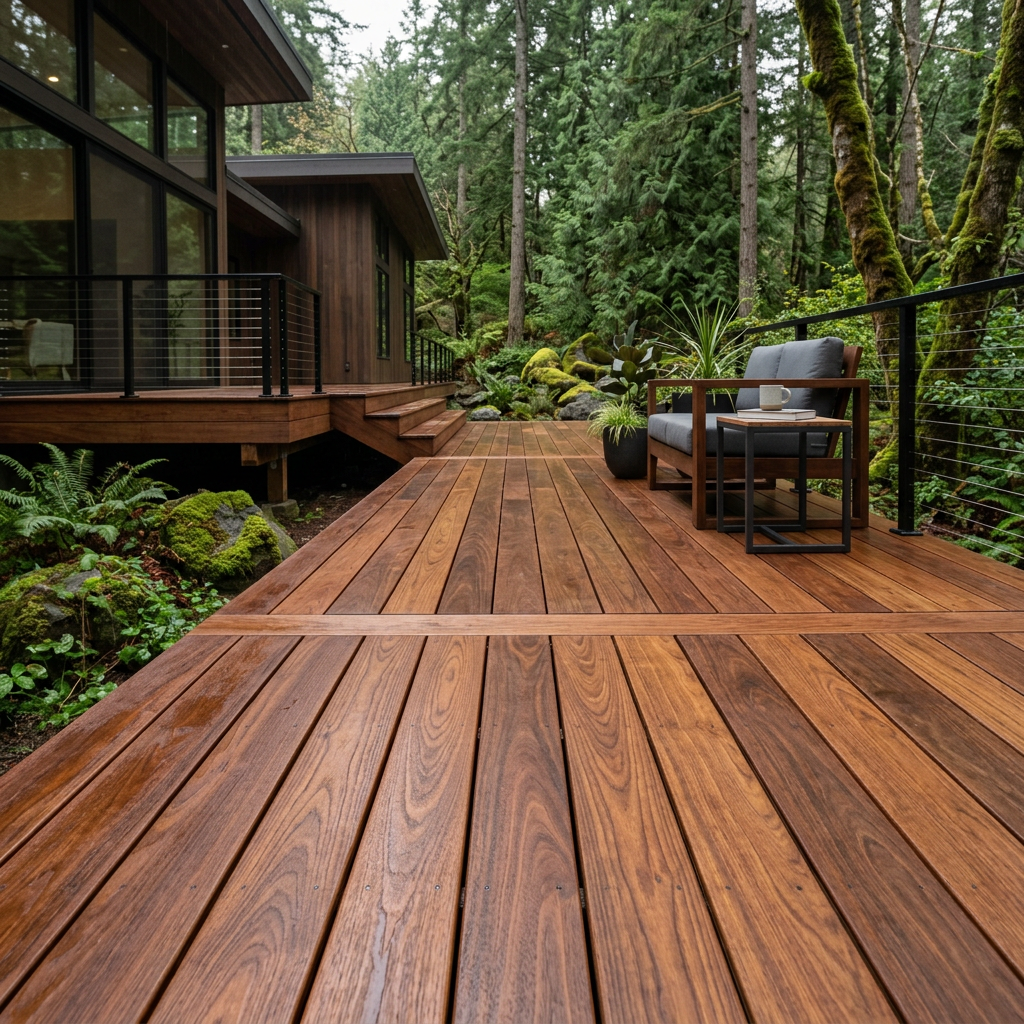
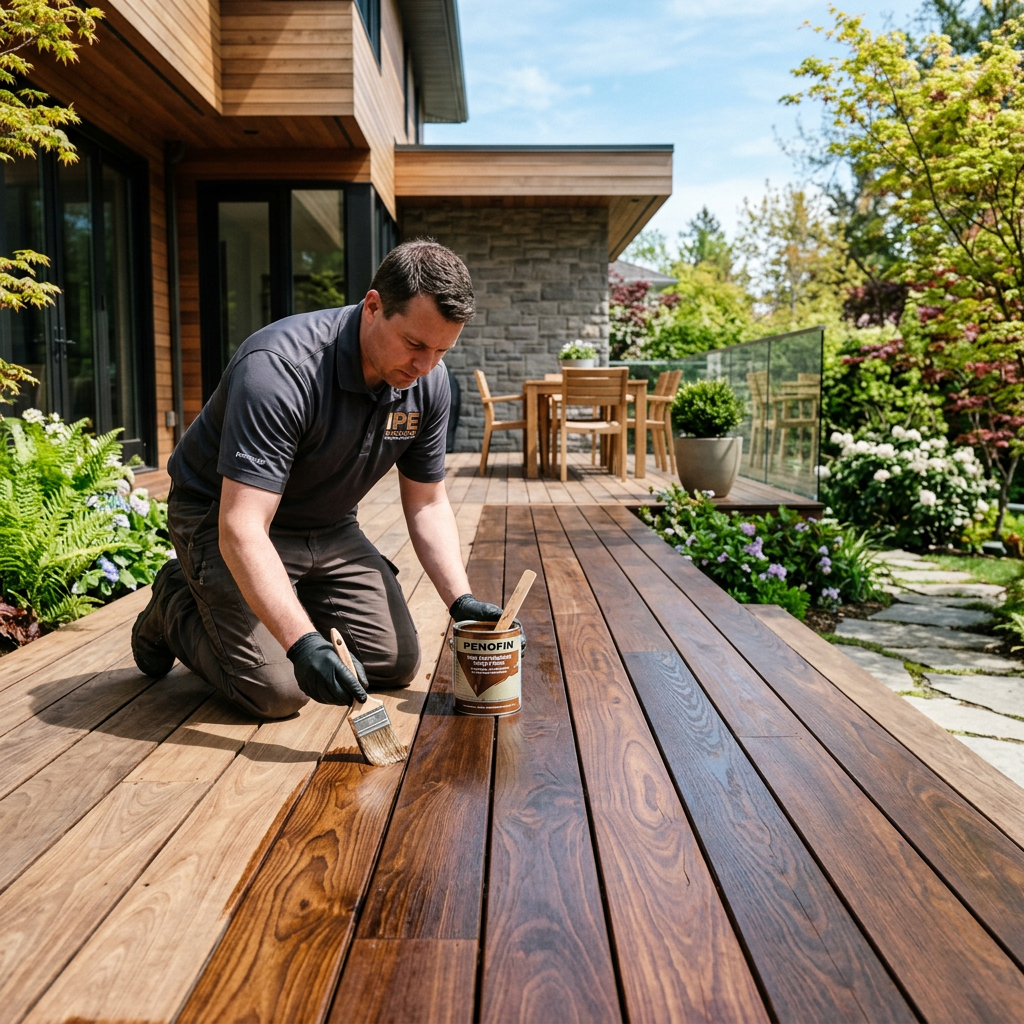
Why Ipe Decking Is So Expensive: An In-Depth Breakdown
Explore the factors behind the high cost of Ipe decking, including harvesting, import costs, and quality grading. Understand its value for your outdoor projects.
Ipe Woods USARead